Initial Setup
Setting up the plugin is very straightforward and can be done in just a few steps. To summarize, we need to:
- Enable the Plugin in the Engine.
- Create Faction Data Assets and any custom Attitude Tables.
- Configure the Asset Manager to load Faction Data Assets.
- Configure Faction Members.
- Optionally configure or extend the framework to better suit your needs
- Optionally add the C++ modules to your project.
Enable the Ninja Factions Plugin
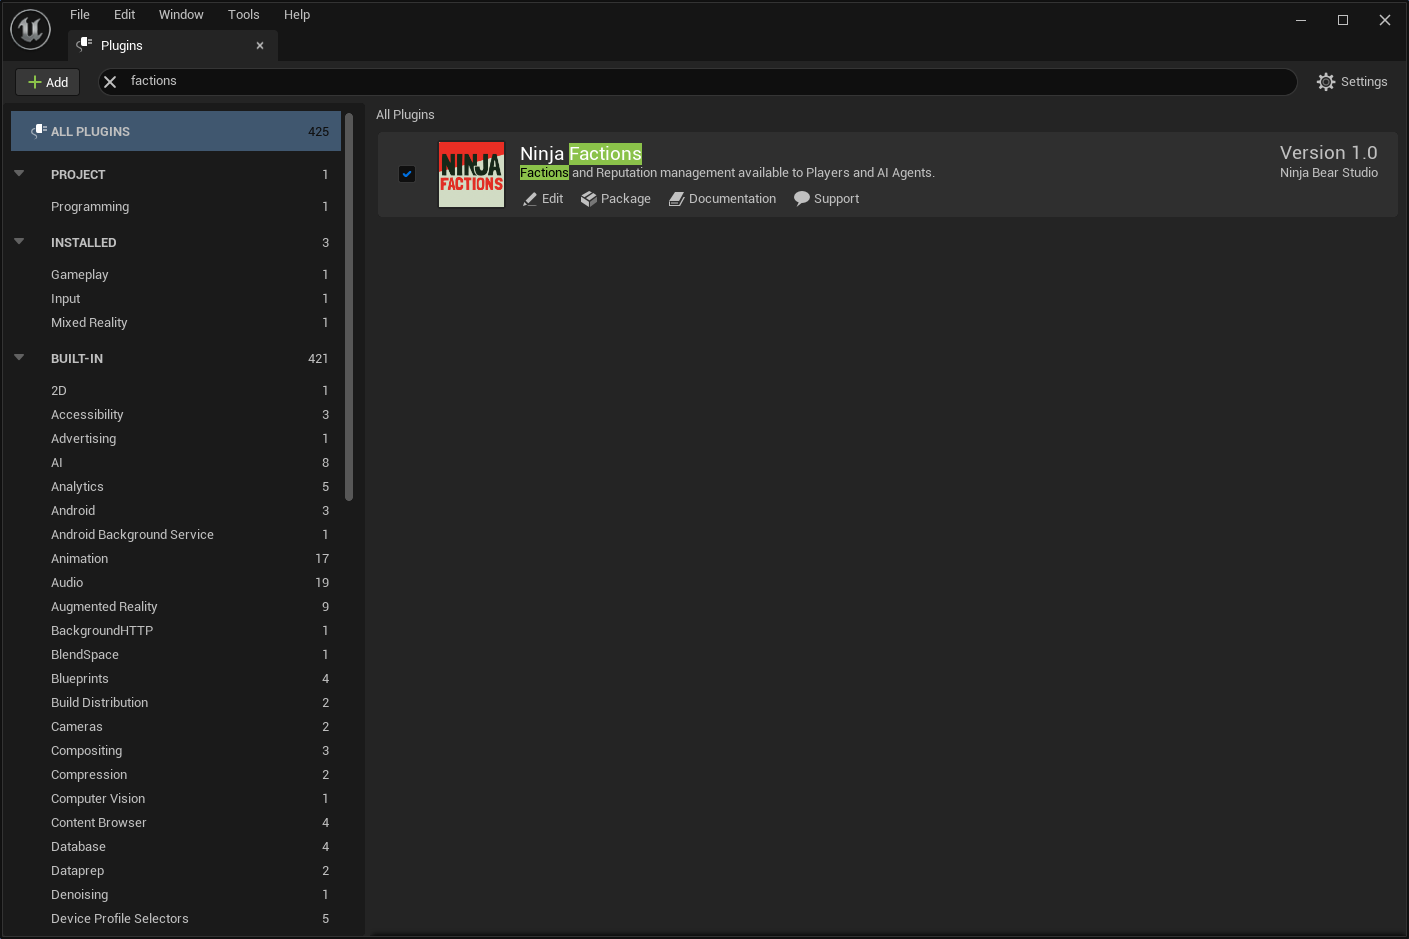
Inside the Editor, go to Edit > Plugins and search for "Ninja Factions". Enable the plugin by ticking the
box and allow the engine to restart when prompted.

Create Faction Data Assets and any custom Attitude Tables
This is an extensive topic and there is a dedicated page for it.
- Create Data Assets for each Faction in the game.
- Create Attitude Tables to handle exception cases not convered by the Faction.
Configure the Asset Manager to load Faction Data Assets
This is an extensive topic and there is a dedicated page for it.
- Configure the Asset Manager to load your Factions.
- You can also decide to use a custom Database, loading factions from a backend server for example, but this is an advanced topic.
Configure Faction Members
This is an extensive topic and there is a dedicated page for it.
Members are Pawns or Characters that implement the FactionMemberInterface and provide a FactionComponent.
They also require their controllers (either a PlayerController or an AIController) to be integrated with the
plugin. There are base classes to help you with that.
Configure or extend the framework to better suit your needs
Optional Step
There are many extension points in the framework that can help you adjusting its behavior or integrating with other system. Since these are advanced topics, please go through the documentation and look for appropriate extension sections.
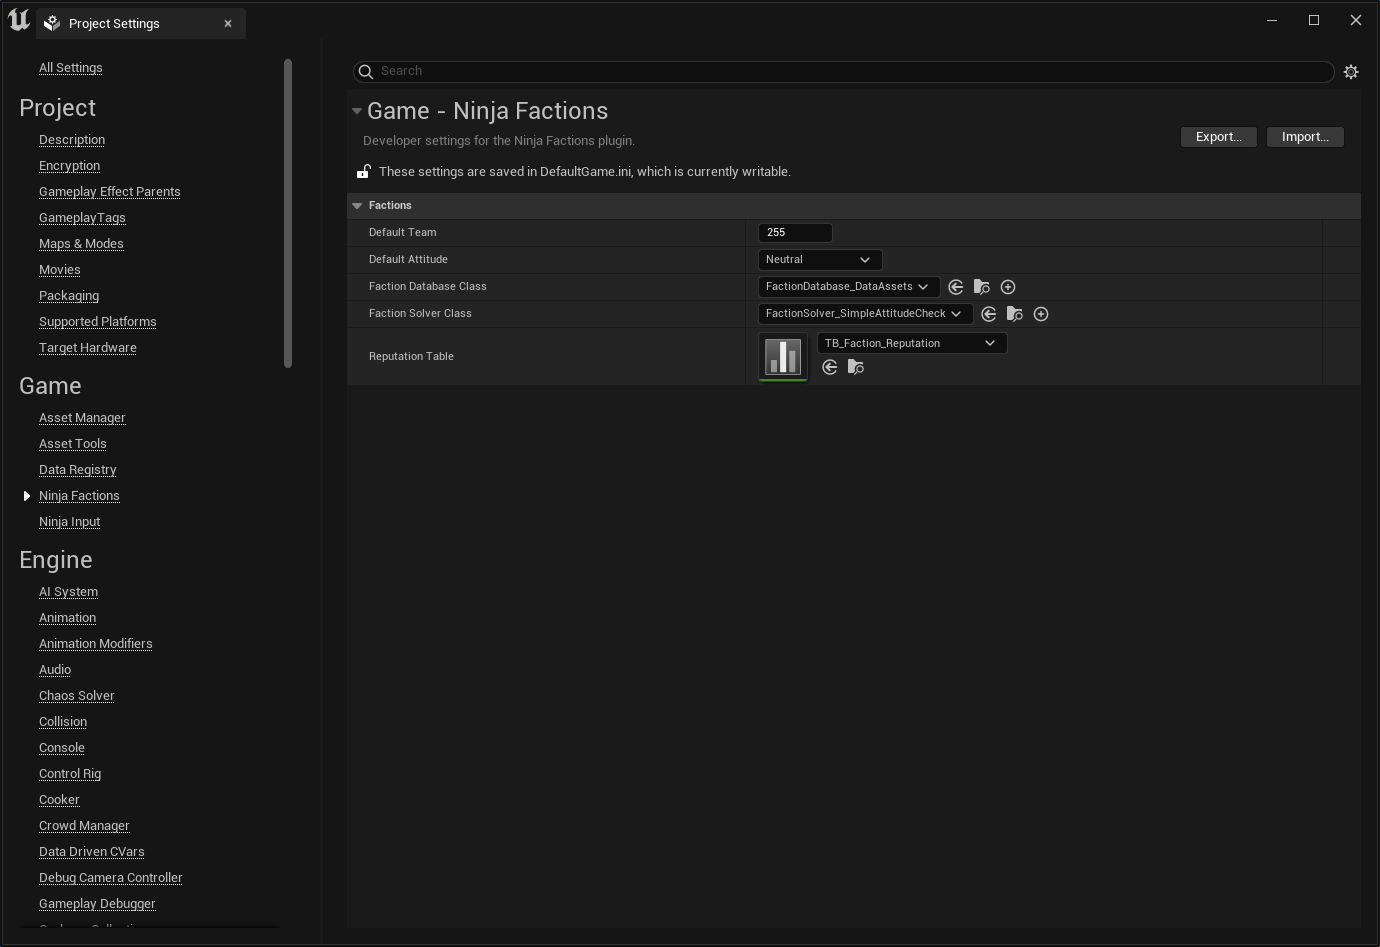
You can find global Developer Settings in your Project's Settings pannel. These can be used to modify common
behaviour or change default classes. To access it, please go to Edit > Project Settings and navigate to
Ninja Factions, on the left pannel.

| Setting | Description |
|---|---|
| Default Team | Default Team ID used when it's not possible to determine a proper faction (255 = No Team). |
| Default Attitude | Default Attitude used when it's not possible to determine a proper attitude. |
| Faction Database Class | Database Class used to retrieve Faction Data. |
| Faction Solver Class | Solver Class used to determine the Attitude between Faction Members. |
| Reputation Table | If Reputation is being used, this table will determine Reputation Tiers. |
Add the C++ modules to your project
Optional Step
This is an optional step. Only necessary if you plan on configuring or extending the plugin using C++.
Add the following modules to your Build.cs file, as they are all pre-requisites to compile the plugin code.
Once you are done, refresh your solution/generate your project files and re-compile the project.
public MyGame(ReadOnlyTargetRules target) : base(target)
{
    PCHUsage = PCHUsageMode.UseExplicitOrSharedPCHs;
    PublicDependencyModuleNames.AddRange(new []
    {
        // ...
        "AIModule",
        "GameplayTags",
        "NinjaFactions",
        // ...
    });
}